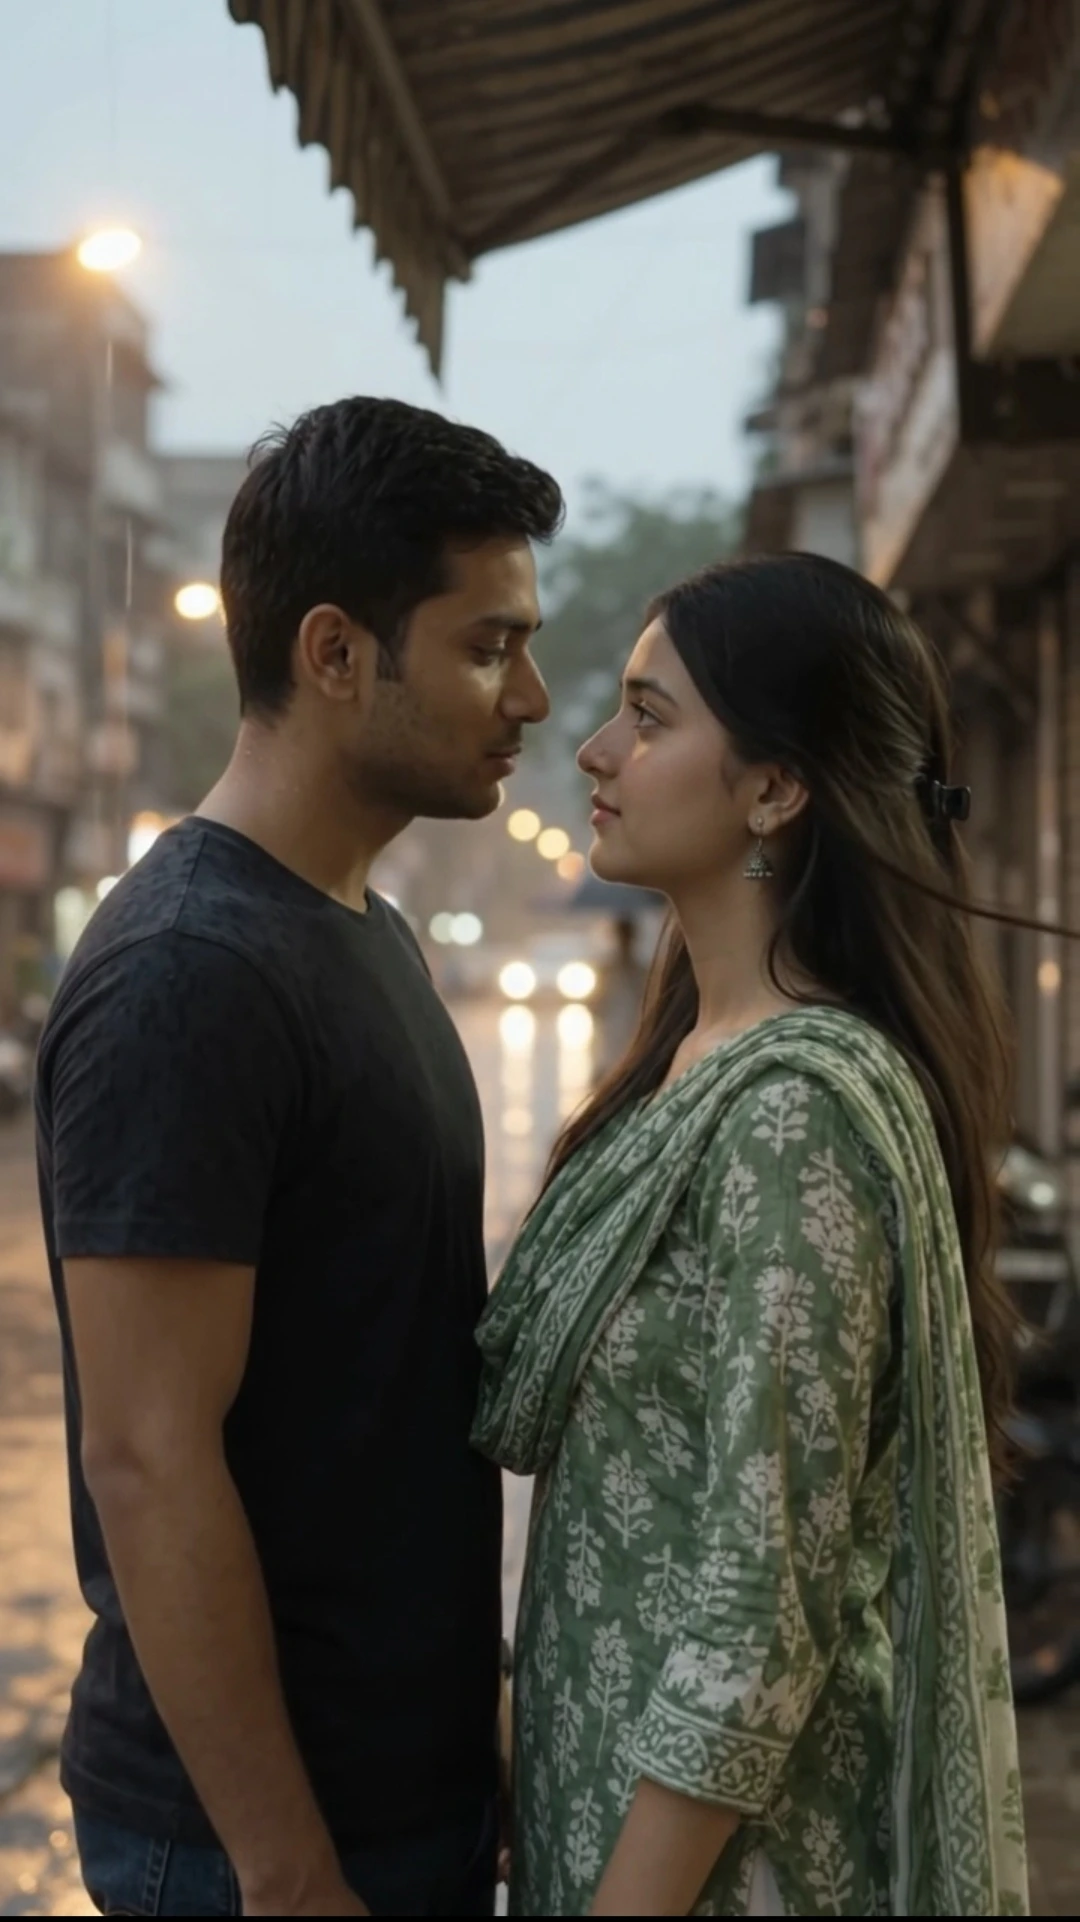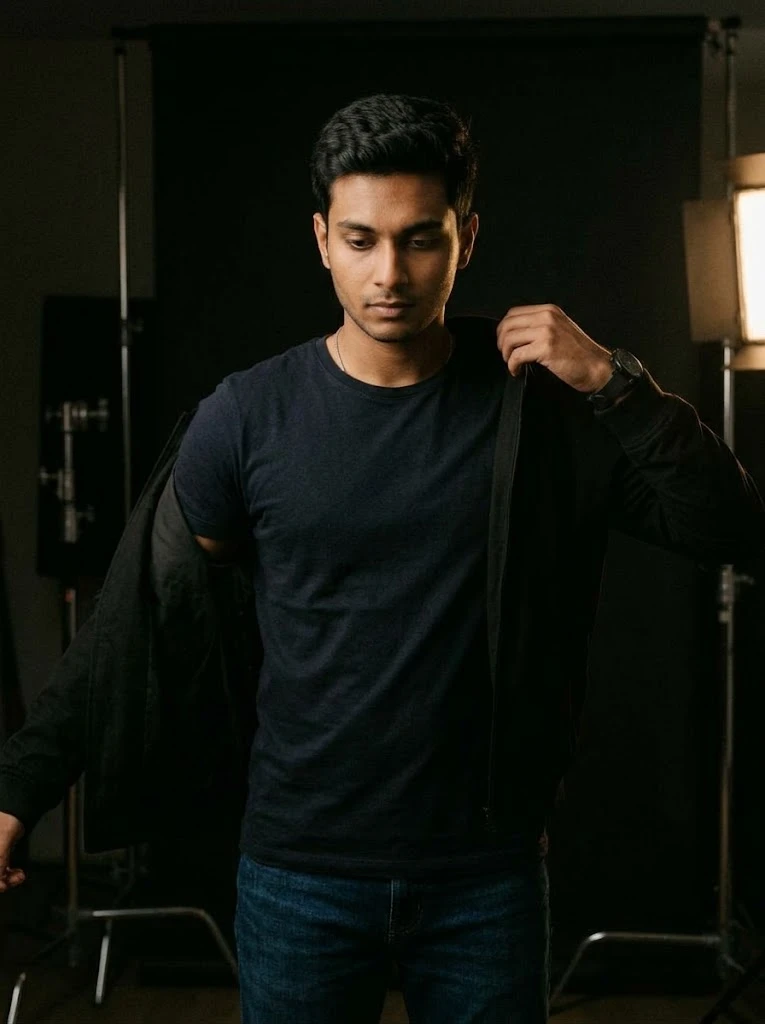
Professional Travel Thumbnail Prompt for AI 2.Professional Travel Thumbnail Prompt for AI
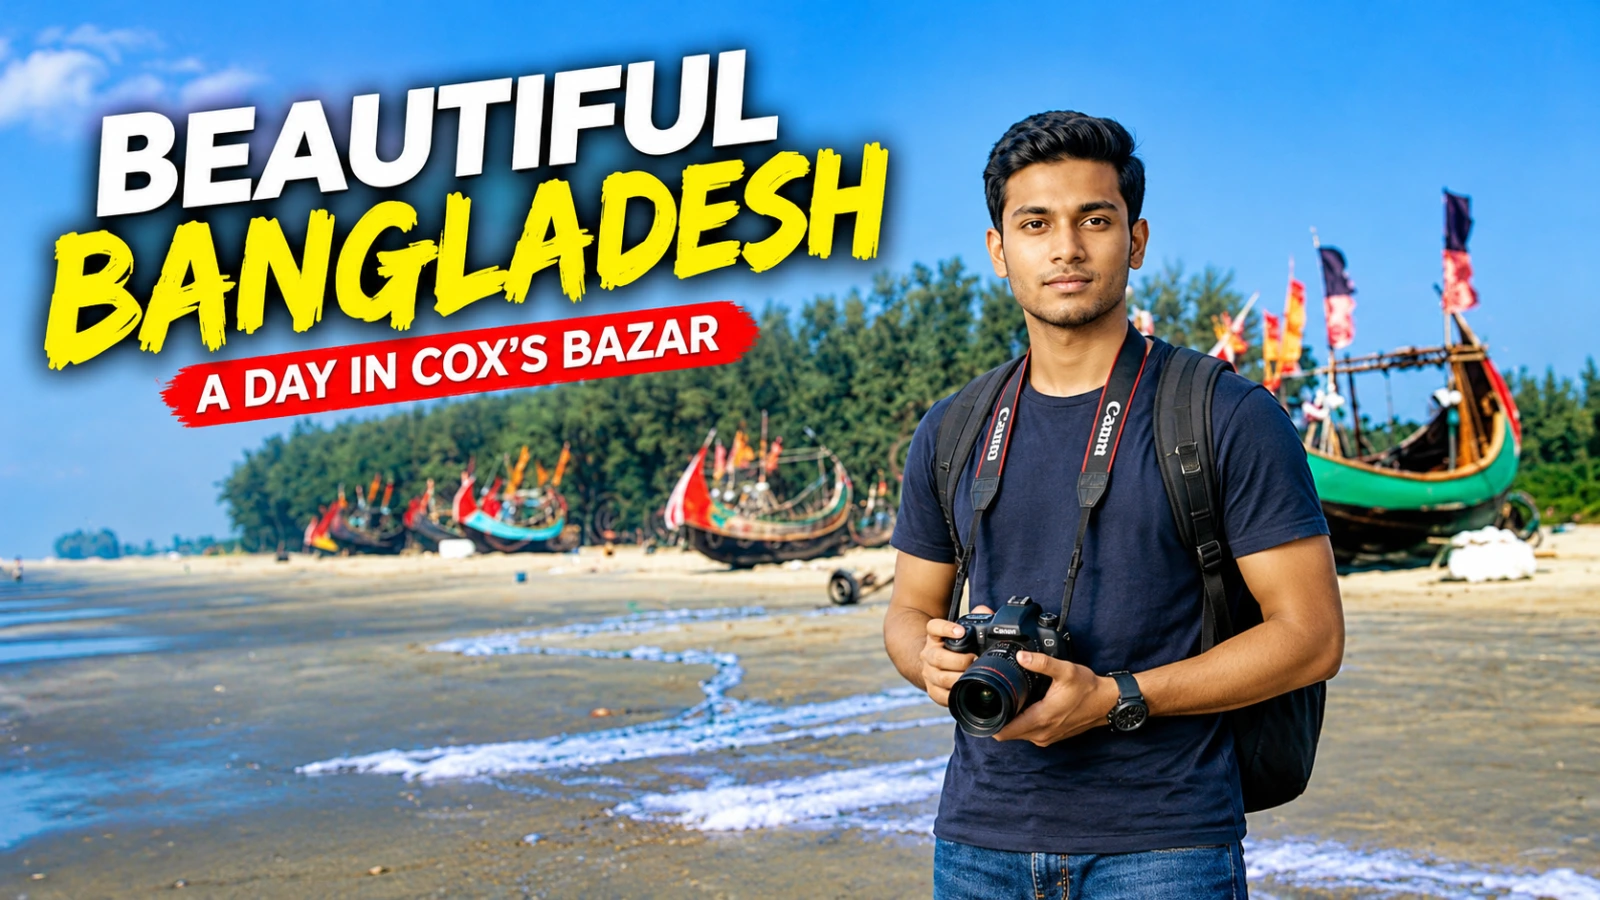
Create a professional, photorealistic YouTube travel thumbnail using two uploaded reference images with ChatGPT or Google Gemini. Use the first image as the original background and the second as the person reference. Preserve the recognizable location and the person's facial identity while improving composition, pose, lighting, image clarity, and overall visual quality.
This customizable thumbnail prompt includes realistic person-background blending, natural pose reconstruction, accurate hands and camera strap placement, subtle depth of field, and professional typography. The default design features “BEAUTIFUL BANGLADESH” and “A DAY IN COX'S BAZAR,” but users can change the titles, destination, travel concept, text colors, layout, and other creative details to match their own ideas.
For the best results, upload two separate, high-quality images: one clear background photo showing the actual location and scenery, and one sharp, well-lit photo of the person with their face clearly visible. Blurry, dark, pixelated, or heavily filtered portraits may reduce facial accuracy. High-quality references improve the chances of a recognizable result, but exact identity preservation is not guaranteed.
Use the customization instructions in the How to Use section to personalize the prompt before generating your thumbnail.
This customizable thumbnail prompt includes realistic person-background blending, natural pose reconstruction, accurate hands and camera strap placement, subtle depth of field, and professional typography. The default design features “BEAUTIFUL BANGLADESH” and “A DAY IN COX'S BAZAR,” but users can change the titles, destination, travel concept, text colors, layout, and other creative details to match their own ideas.
For the best results, upload two separate, high-quality images: one clear background photo showing the actual location and scenery, and one sharp, well-lit photo of the person with their face clearly visible. Blurry, dark, pixelated, or heavily filtered portraits may reduce facial accuracy. High-quality references improve the chances of a recognizable result, but exact identity preservation is not guaranteed.
Use the customization instructions in the How to Use section to personalize the prompt before generating your thumbnail.
📝 Prompt 1
# PROFESSIONAL YOUTUBE THUMBNAIL PROMPT — FACE LOCK, POSE RECOMPOSITION, CAMERA STRAP ACCURACY & SMART BACKGROUND ENHANCEMENT

Create a premium, photorealistic, professionally art-directed 16:9 YouTube thumbnail using two uploaded reference images. The result must look like one professionally photographed and edited image — not a collage.

MAIN TITLE: BEAUTIFUL BANGLADESH
SECONDARY TEXT: A DAY IN COX'S BAZAR

The title, secondary text, and travel concept are customizable. Follow the user's custom values where given; otherwise use the defaults above.

---

## 1. STRICT TWO-IMAGE ORDER

IMAGE 1 — ORIGINAL BACKGROUND: The first uploaded image is the actual background. Preserve its location, scenery, major objects, buildings, landscape, and composition. Enhance it professionally — never replace it with an unrelated AI-generated location.

IMAGE 2 — PERSON / IDENTITY: The second uploaded image contains the person. Preserve this person's original face and identity. The body pose, arms, hands, gaze, expression, and presentation may be reconstructed as needed.

Never reverse the two images. Do not ignore either reference.

---

## 2. ABSOLUTE ORIGINAL FACE & IDENTITY LOCK (HIGHEST PRIORITY)

Preserve the face from IMAGE 2 as faithfully as possible: facial structure and shape, eyes, eyebrows, nose, lips, jawline, skin tone and natural texture, apparent age, recognizable characteristics, hairstyle, hairline, facial hair, and natural proportions.

Do not replace the person with a similar-looking individual. Do not generate a new face, redesign features, change apparent age, reshape the face, or apply artificial beautification. Do not widen, slim, lengthen, or shorten the face. Avoid plastic skin, excessive smoothing, beauty filters, and invented facial details.

Improve clarity and lighting without changing identity.

Face vs. pose: Preserving the face does not mean preserving the original photograph or pose. The face must stay recognizable while posture, arms, hands, gaze, and presentation adapt to the thumbnail. If pose reconstruction conflicts with identity, prioritize facial identity and realistic anatomy.

---

## 3. ACTIVELY RECOMPOSE THE POSE

Do not blindly copy an unsuitable original pose. Analyze the original pose against the thumbnail concept and reconstruct visible body posture where needed: body orientation, torso angle, shoulder position, head angle, eye direction, arm and hand positions, upper-body posture, subtle realistic expression changes, and position within the frame.

If the original pose clearly does not suit the thumbnail, make a meaningful pose change — not just repositioning the unchanged photo. If it already fits, keep it.

Remove unsuitable handheld objects: Inspect the hands. Remove unrelated objects when appropriate and naturally reconstruct the affected hands, fingers, clothing, and body areas. Keep relevant objects and integrate them realistically. Never leave ghosted objects, duplicated hands, incomplete fingers, broken wrists, strange arm positions, or remnants of the original photo.

Travel-presenter pose (default): Create a natural, confident travel-presenter look — facing the camera confidently, turning slightly toward the destination, looking toward the scenery, naturally holding a relevant travel device, or a subtle believable gesture. Do not force pointing, exaggerated smiles, or dramatic action unless it suits the concept. The person should feel engaged with the environment, not stiff.

---

## 4. CAMERA, STRAP & HAND ACCURACY

If a camera (DSLR, mirrorless, video) is held, the camera, hands, strap, shoulders, and body orientation must form one physically plausible arrangement.

Correct grip: Position the camera naturally in the selected hand. Reconstruct fingers and thumb around the correct grip areas. Keep body, lens, viewfinder, buttons, and proportions realistic. If photographing the scenery, orient the lens toward the subject; if presenting the camera, orient it naturally toward the viewer. Keep wrist, elbow, and shoulder aligned.

Correct strap direction & attachment: The strap must be physically connected to the camera and follow a natural path around the neck, shoulder, or chest. It must never twist, cross incorrectly, emerge from the wrong side, or pass through the body.

- Determine the strap path from the actual attachment points, selected hand, shoulder placement, camera angle, and torso orientation.
- Right-hand or left-hand grip: arrange the strap naturally for that grip and body position.
- Do not automatically reverse or mirror the strap just because the holding hand changes. Do not assume a fixed strap direction per hand — the correct arrangement depends on camera design and how the strap is worn.
- When both strap ends are visible, connect them to the correct attachment points.
- If the strap passes over a shoulder or around the neck, it must follow a believable route and rest naturally on the clothing.
- Respect gravity, strap tension, camera weight, and posture.
- Never let the strap pass through the neck, arm, hand, camera body, or clothing.
- No extra straps, duplicate sections, disconnected ends, floating straps, impossible crossings, or twisted loops.
- If the original strap is wrong for the new pose, rebuild the visible strap path.

Strap quality check: Trace the strap from one attachment point to the other. Confirm a continuous, plausible path with no impossible crossing or attachment. Check from the viewer's perspective, not just the person's.

If a strap cannot be reconstructed reliably, keep it minimally visible or naturally out of view rather than creating an obviously wrong strap. Do not remove a necessary strap if that would make the camera look unsupported.

Apply the same physical-consistency rules to microphones, phones, bags, and other travel accessories.

---

## 5. NATURAL EXPRESSION WITHOUT CHANGING IDENTITY

Adapt expression and gaze to the thumbnail mood while preserving identity. Use subtle changes: a relaxed natural smile, a confident travel-presenter expression, an interested gaze toward the destination, or a calm focused look when operating a camera.

Avoid exaggerated smiles, unnatural open mouths, distorted eyes, or dramatic expressions that change recognizable appearance. The face must remain consistent with IMAGE 2 even when posture or gaze direction changes.

---

## 6. SMART BACKGROUND PRESERVATION & ENHANCEMENT

Use IMAGE 1 as the actual background. Preserve its location, scenery, layout, major objects, buildings, landscape, and recognizable details. Analyze its lighting, weather, colors, atmosphere, and composition before editing. Never replace it with an invented or unrelated scene.

Scene-appropriate enhancements:
- Beach or ocean: refine ocean colors, shoreline details, exposure, atmospheric depth, existing sunlight — keep the original beach.
- Mountains or countryside: enhance natural greens, clarity, distant depth, balanced lighting — no invented scenery.
- City or landmark: improve architectural clarity, contrast, exposure, depth — preserve original buildings.
- Indoor: balance exposure and illumination, reduce distracting noise, preserve the room and objects.
- Night scene: improve visibility, control highlights, reduce noise, refine existing lights — no excessive artificial glow.
- Other environments: determine suitable enhancements from the actual background, not a generic effect.

Use restrained color grading, natural contrast, realistic lighting, and subtle atmospheric depth. The background must look professionally edited — not heavily filtered or regenerated.

---

## 7. SUBTLE BACKGROUND BLUR & DEPTH

Add a mild, realistic depth-of-field effect only when it improves the thumbnail. Keep the main background recognizable and clear. Slightly soften distant or less important areas while preserving important scenery, landmarks, and location details.

Do not blur excessively. Avoid strong portrait-mode blur that makes the environment look artificial. Use subtle separation, restrained contrast, soft natural highlights, and realistic depth. Choose blur amount by the actual background — detailed scenic locations need very little, busy backgrounds can take slightly more.

---

## 8. SEAMLESS PERSON–BACKGROUND INTEGRATION

Make the person appear naturally photographed at the IMAGE 1 location:
- Remove the unrelated IMAGE 2 background when necessary.
- Match scale and perspective to the environment.
- Match lighting direction, color temperature, and exposure.
- Apply realistic shadows and environmental light.
- Blend hair, clothing, and body edges cleanly.
- Maintain natural skin tones and realistic clothing details.
- Match sharpness and color grading to the scene.
- Keep the person clearly visible without unnatural brightness or artificial outlines.
- Use subtle depth separation so the person is prominent but not pasted on.

Handheld objects, camera straps, fingers, and clothing must also match the scene's lighting and perspective.

Do not alter the original background to accommodate a poorly integrated cutout. Adjust the person's placement, scale, pose, and lighting to fit the actual environment.

The final result must look like one coherent photograph with consistent lighting, perspective, and atmosphere.

---

## 9. PROFESSIONAL FACE CLARITY & IMAGE QUALITY

Improve visible image quality without changing appearance. Enhance facial clarity, natural skin texture, hair detail, clothing texture, and overall sharpness. Reduce excessive blur, compression artifacts, and distracting noise.

Do not invent unsupported facial details. Avoid oversharpening, artificial smoothing, halos, distorted features, and plastic textures. Keep the face clear and recognizable on a mobile screen.

---

## 10. THUMBNAIL COMPOSITION & TYPOGRAPHY

Create a balanced, professional travel-thumbnail layout. Place the person prominently on the right side when the background and pose allow; adapt when necessary to preserve composition and show important scenery. Leave sufficient negative space on the left for the title.

Main title (exact): BEAUTIFUL BANGLADESH
Use oversized, bold, professional travel-thumbnail typography. Make "BEAUTIFUL" white and "BANGLADESH" bright yellow, with a clean dark outline and subtle shadows.

Secondary text (exact): A DAY IN COX'S BAZAR
Place beneath the main title in smaller but clearly readable typography.

Keep text away from the face, camera, hands, and important background details. Ensure correct spelling and mobile readability.

Do not add extra captions, logos, watermarks, or fake branding unless explicitly requested.

If the customized title is too long, arrange it into balanced lines without changing the wording. Do not invent additional text.

---

## 11. HIGH-RESOLUTION OUTPUT

Use a 16:9 aspect ratio, targeting 1280 × 720 pixels for a standard YouTube thumbnail. Generate the highest quality supported by the tool. Preserve realistic textures, facial detail, clean edges, and balanced colors.

If genuine 8K generation or upscaling is supported, use it; otherwise produce the highest available resolution without claiming it is genuinely 8K. Prioritize realistic details and professional clarity over excessive sharpening or artificial texture.

---

## 12. FINAL QUALITY CONTROL

Before producing the final thumbnail, verify:
1. IMAGE 1 remains the recognizable original background.
2. The background is subtly enhanced according to its actual environment.
3. Blur and lighting effects are restrained, realistic, and appropriate.
4. IMAGE 2 supplies the same recognizable person.
5. Original face, facial structure, skin tone, and apparent age remain consistent.
6. The pose has been meaningfully adapted if the original does not suit the thumbnail.
7. Unrelated handheld objects are removed when appropriate, with natural reconstruction.
8. Gaze, expression, posture, and body language suit the thumbnail.
9. If a camera is present, its grip, lens direction, strap attachment points, strap path, and orientation are physically plausible.
10. The strap does not cross unnaturally, pass through the body, or connect to the wrong attachment point.
11. Lighting, shadows, perspective, sharpness, and colors blend naturally.
12. Both title lines match the customized wording and are correctly spelled and readable.
13. The final thumbnail looks professionally edited, realistic, and visually cohesive.

FINAL PRIORITY: Preserve the person's original face and identity while adapting pose, hands, gaze, and expression. Preserve and subtly enhance the actual uploaded background. Ensure every handheld object — especially the camera and its strap — is anatomically and physically consistent. The final result must look like a single professionally photographed scene, not an unchanged person cutout pasted onto another image
Use this prompt :
ChatGPT
How to Customize This Prompt
# 🎨 How to Customize This Prompt
Before using this prompt in Gemini, customize the following three sections according to your preferences. 👇
---
## ✏️ 1. Change the Main Title
Find this line in the prompt:
`MAIN TITLE: [EXPLORE BANGLADESH]`
Replace `EXPLORE BANGLADESH` with the exact headline you want to display on your thumbnail. 🎯
**Examples:**
- 🌊 `DISCOVER COX'S BAZAR`
- 🇧🇩 `BEAUTIFUL BANGLADESH`
- 🏝️ `HIDDEN PARADISE`
- 🐚 `SAINT MARTIN'S ISLAND`
Choose a short, catchy title that matches your video. The AI will use this text as the main thumbnail headline. ✨
---
## 🖼️ 2. Choose Your Background
Find this line:
`BACKGROUND: [COX'S BAZAR BEACH / SAINT MARTIN'S ISLAND / SUNDARBANS / SYLHET TEA GARDENS / CUSTOM LOCATION]`
Replace the entire bracketed section with just **one destination** that matches your video. 📍
**Examples:**
- 🏖️ `BACKGROUND: Cox's Bazar Beach`
- 🏝️ `BACKGROUND: Saint Martin's Island`
- 🌳 `BACKGROUND: Sundarbans Mangrove Forest`
- 🍃 `BACKGROUND: Sylhet Tea Gardens`
- ⛰️ `BACKGROUND: Sajek Valley`
- 🏔️ `BACKGROUND: Custom location — Bandarban Mountains`
Choose the location you want to feature. If you select a custom location, enter its name clearly. 📝
---
## 🔒 3. Keep the Rest of the Prompt Unchanged
You do not need to edit the other instructions. They tell Gemini how to arrange the person and scenery, preserve your facial identity, style the headline, and create a professional 16:9 YouTube thumbnail. 🎬
---
## ✅ Example of a Customized Prompt
`MAIN TITLE: DISCOVER COX'S BAZAR` 🌊
`BACKGROUND: Cox's Bazar Beach` 🏖️
After making your changes, copy the complete prompt into Gemini, upload your photo, and generate your image. 🚀
**⚠️ Important:** AI image generators may occasionally misspell text or slightly alter facial details. Always check the generated thumbnail before publishing. 👀
Before using this prompt in Gemini, customize the following three sections according to your preferences. 👇
---
## ✏️ 1. Change the Main Title
Find this line in the prompt:
`MAIN TITLE: [EXPLORE BANGLADESH]`
Replace `EXPLORE BANGLADESH` with the exact headline you want to display on your thumbnail. 🎯
**Examples:**
- 🌊 `DISCOVER COX'S BAZAR`
- 🇧🇩 `BEAUTIFUL BANGLADESH`
- 🏝️ `HIDDEN PARADISE`
- 🐚 `SAINT MARTIN'S ISLAND`
Choose a short, catchy title that matches your video. The AI will use this text as the main thumbnail headline. ✨
---
## 🖼️ 2. Choose Your Background
Find this line:
`BACKGROUND: [COX'S BAZAR BEACH / SAINT MARTIN'S ISLAND / SUNDARBANS / SYLHET TEA GARDENS / CUSTOM LOCATION]`
Replace the entire bracketed section with just **one destination** that matches your video. 📍
**Examples:**
- 🏖️ `BACKGROUND: Cox's Bazar Beach`
- 🏝️ `BACKGROUND: Saint Martin's Island`
- 🌳 `BACKGROUND: Sundarbans Mangrove Forest`
- 🍃 `BACKGROUND: Sylhet Tea Gardens`
- ⛰️ `BACKGROUND: Sajek Valley`
- 🏔️ `BACKGROUND: Custom location — Bandarban Mountains`
Choose the location you want to feature. If you select a custom location, enter its name clearly. 📝
---
## 🔒 3. Keep the Rest of the Prompt Unchanged
You do not need to edit the other instructions. They tell Gemini how to arrange the person and scenery, preserve your facial identity, style the headline, and create a professional 16:9 YouTube thumbnail. 🎬
---
## ✅ Example of a Customized Prompt
`MAIN TITLE: DISCOVER COX'S BAZAR` 🌊
`BACKGROUND: Cox's Bazar Beach` 🏖️
After making your changes, copy the complete prompt into Gemini, upload your photo, and generate your image. 🚀
**⚠️ Important:** AI image generators may occasionally misspell text or slightly alter facial details. Always check the generated thumbnail before publishing. 👀
How to Use This Prompt
1. Open ChatGPT or Google Gemini. Choose an image-generation or image-editing feature that supports uploading reference images.
2. Upload exactly two images in the correct order:
• Image 1 — Background: Upload the original place, beach, mountain, city, landmark, indoor scene, or other destination you want to show.
• Image 2 — Person: Upload a clear photograph of the person you want to feature in the thumbnail.
3. IMPORTANT — Use high-quality images. The background should clearly show the location, and the person's face should be sharp, well-lit, and unobstructed. Avoid blurry, dark, pixelated, low-resolution, or heavily filtered portraits. Poor-quality reference photos may cause facial differences or inaccurate results. Clear images improve the chances of preserving the original face, but exact identity matching is not guaranteed.
4. Copy and paste the complete AI thumbnail prompt into ChatGPT or Gemini. Keep the image order unchanged so the tool knows which photo provides the background and which provides the person's identity.
5. Customize the prompt to match your own YouTube video:
• Main title: Replace “BEAUTIFUL BANGLADESH” with your preferred title.
• Secondary text: Replace “A DAY IN COX'S BAZAR” with your own subtitle, or remove it if you do not need it.
• Destination: Adjust the travel concept to match the actual background photo.
• Text colors and style: Change the typography, colors, outline, and shadows to suit your channel.
• Person's pose: Request a natural standing pose, travel-presenter look, camera-holding pose, or another suitable posture.
• Composition: Adjust the person's placement, background visibility, and text position.
• Accessories: Specify whether to keep, remove, or adjust a camera, strap, phone, bag, or other object.
• Image format: Keep 16:9 for a standard YouTube thumbnail, targeting 1280 × 720 pixels if supported.
6. You can change the default text, colors, pose, layout, destination, camera details, and other creative instructions according to your preferences. Follow the relevant instructions in the prompt and replace only the details you want to customize.
7. Generate the thumbnail and inspect the result. Check the person's face, hands, accessories, background, title spelling, text readability, and overall blending. If anything looks incorrect, ask ChatGPT or Gemini to correct that specific issue.
8. Before publishing, make sure the thumbnail matches your video, the original location remains recognizable, and the text is readable on mobile screens. Different AI tools may interpret the same prompt differently, so review the final image carefully.
2. Upload exactly two images in the correct order:
• Image 1 — Background: Upload the original place, beach, mountain, city, landmark, indoor scene, or other destination you want to show.
• Image 2 — Person: Upload a clear photograph of the person you want to feature in the thumbnail.
3. IMPORTANT — Use high-quality images. The background should clearly show the location, and the person's face should be sharp, well-lit, and unobstructed. Avoid blurry, dark, pixelated, low-resolution, or heavily filtered portraits. Poor-quality reference photos may cause facial differences or inaccurate results. Clear images improve the chances of preserving the original face, but exact identity matching is not guaranteed.
4. Copy and paste the complete AI thumbnail prompt into ChatGPT or Gemini. Keep the image order unchanged so the tool knows which photo provides the background and which provides the person's identity.
5. Customize the prompt to match your own YouTube video:
• Main title: Replace “BEAUTIFUL BANGLADESH” with your preferred title.
• Secondary text: Replace “A DAY IN COX'S BAZAR” with your own subtitle, or remove it if you do not need it.
• Destination: Adjust the travel concept to match the actual background photo.
• Text colors and style: Change the typography, colors, outline, and shadows to suit your channel.
• Person's pose: Request a natural standing pose, travel-presenter look, camera-holding pose, or another suitable posture.
• Composition: Adjust the person's placement, background visibility, and text position.
• Accessories: Specify whether to keep, remove, or adjust a camera, strap, phone, bag, or other object.
• Image format: Keep 16:9 for a standard YouTube thumbnail, targeting 1280 × 720 pixels if supported.
6. You can change the default text, colors, pose, layout, destination, camera details, and other creative instructions according to your preferences. Follow the relevant instructions in the prompt and replace only the details you want to customize.
7. Generate the thumbnail and inspect the result. Check the person's face, hands, accessories, background, title spelling, text readability, and overall blending. If anything looks incorrect, ask ChatGPT or Gemini to correct that specific issue.
8. Before publishing, make sure the thumbnail matches your video, the original location remains recognizable, and the text is readable on mobile screens. Different AI tools may interpret the same prompt differently, so review the final image carefully.